TL;DR:
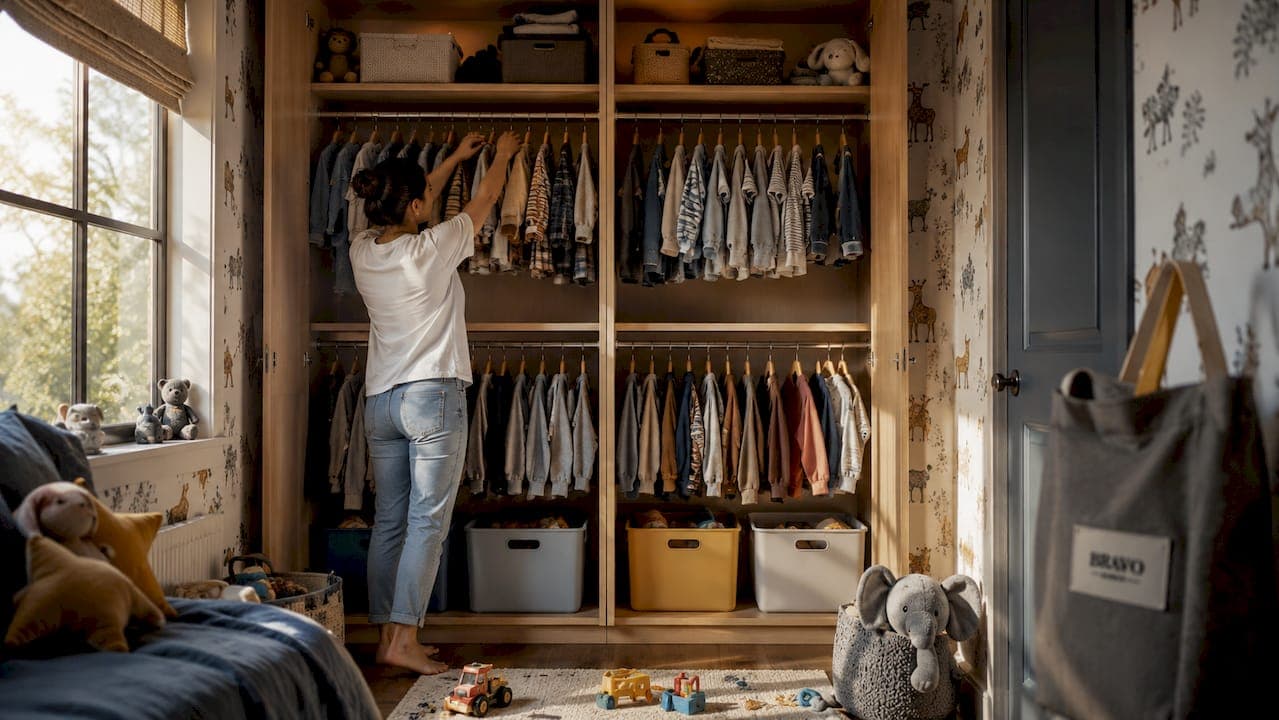
- Organizing shared children's wardrobes involves creating distinct zones using tools like double rods, color coding, and labeled bins. This approach reduces chaos, prevents disputes, and fosters independence, even in modest spaces. Involving children in choosing colors and labels enhances their ownership of the system for long-lasting order.
Organising shared kids bedroom wardrobes means creating distinct, manageable spaces for each child within the same closet using techniques like double rods, colour coding, and labelled bins. Done well, a shared wardrobe system reduces morning chaos, prevents sibling disputes over clothing, and builds children's independence from an early age. The good news is that you do not need a large wardrobe or a big budget to make it work. With the right clothes storage ideas and a clear plan, even a modest closet can serve two or three children comfortably.
What tools and accessories do you need to organise shared wardrobes?
The right tools make the difference between a system that lasts and one that collapses within a week. Before you start rearranging, gather everything you need so the setup process is quick and deliberate.
Essential tools:
- Measuring tape (measure rod heights, shelf depths, and door clearance before buying anything)
- Labels and a label maker or printed picture labels for younger children
- Hooks for bags, belts, and hats
- A marker pen for colour coding bins and hangers
Storage accessories to buy:
- Double-hang rods (the single most effective upgrade for a shared space)
- Shelf dividers to split a single shelf between two children
- Over-door organisers for socks, accessories, and small items
- Coloured bins or baskets, one colour per child
- Hanging shelf organisers that drop from the rod
A fully upgraded shared closet costs between £40 and £65 in the UK, covering double rods, door organisers, and colour-coded bins. That is a modest outlay for a system that can last years. Age-appropriate choices matter here. Younger children need larger bins and picture labels rather than text-only labels. Older children can manage smaller compartments and written labels independently.
Pro Tip: Buy bins and hangers in each child's assigned colour from the start. Replacing mismatched items later costs more time and money than getting it right first time.
| Accessory | Purpose | Approximate cost |
|---|---|---|
| Double-hang rod | Doubles hanging capacity | £8–£20 |
| Over-door organiser | Adds dresser-equivalent storage | £10–£18 |
| Shelf dividers | Separates each child's shelf space | £5–£12 |
| Coloured bins (set of 4) | Visual ownership, easy sorting | £10–£20 |
| Hanging shelf organiser | Replaces drawer units inside closet | £8–£15 |
How to create clear personal zones in a shared kids wardrobe
Zone division is the foundation of any shared wardrobe system. Each child needs a defined territory so there is no ambiguity about what belongs where.
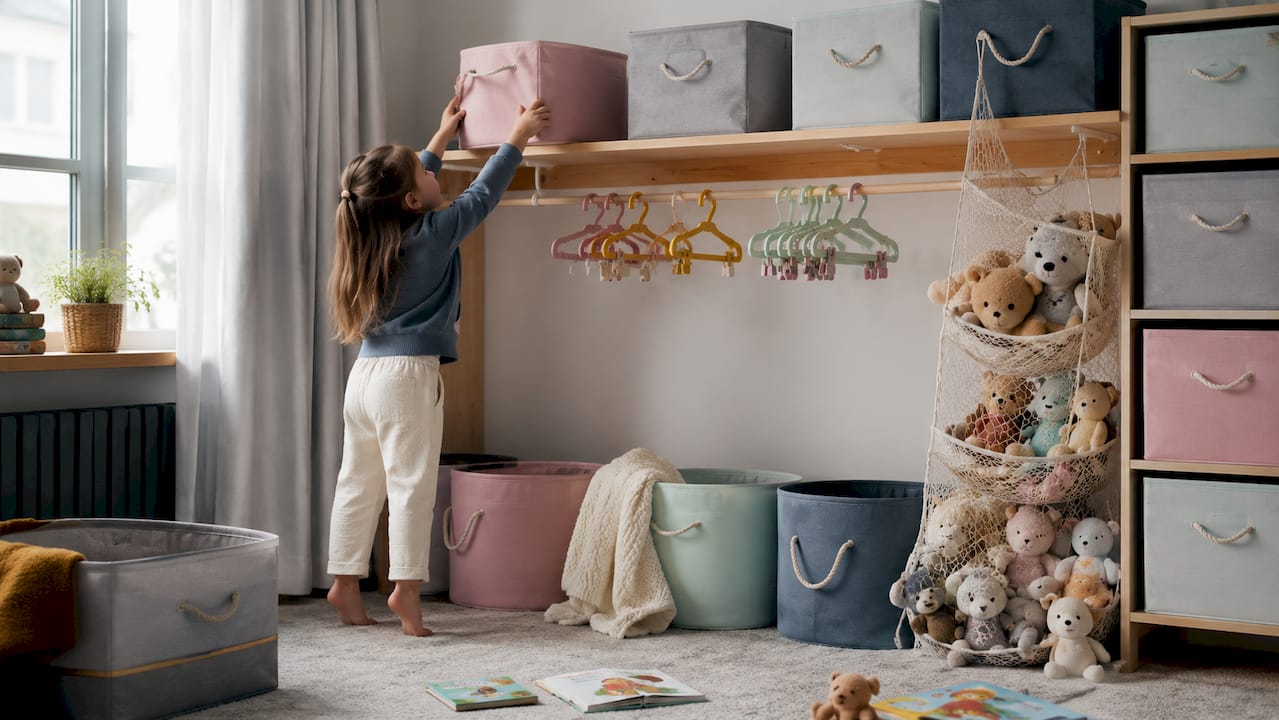
The simplest method is a left-right split: one child owns the left half of the hanging rail and shelves, the other owns the right. For three children, divide the wardrobe into thirds using shelf dividers and coloured tape on the rod. A top-bottom split works well when children are different ages. The older child uses the upper rail and higher shelves; the younger child uses the lower rail and floor-level bins.
Colour coding is the most impactful strategy for reducing sibling mix-ups and creating clear visual ownership. Assign each child one colour and apply it consistently: bins, hangers, labels, and even the edge of their shelf. When everything belonging to one child is the same colour, there is no guesswork. Children as young as three can follow a colour system reliably.
Labels should combine pictures and words for children under six. A photo of socks above the word "socks" works far better than text alone. Older children can use text-only labels or even write their own, which builds a sense of ownership.
- Use coloured washi tape along the rod to mark each child's hanging section
- Place a small photo of each child on their section of the wardrobe door
- Keep shared items (spare blankets, out-of-season clothes) in a clearly marked top shelf or separate storage box
- Use shelf dividers to prevent clothes from migrating between sections
Pro Tip: Involve each child in choosing their colour. When children make that decision themselves, they are far more likely to respect the system.
How can you maximise vertical and hidden space in a shared wardrobe?
Standard kids wardrobes waste at least 40% of available space because the rod sits at adult height, leaving a large empty zone below. Fixing this one issue transforms the wardrobe's capacity.
- Install a second hanging rod at child height. A lower rod at 33 inches (roughly 84 cm) doubles hanging capacity and lets children reach their own clothes without help. The upper rod, at the standard 66 inches (168 cm), handles longer items and out-of-season pieces.
- Add an over-door organiser. Over-door storage adds capacity equivalent to a small chest of drawers without using any interior wardrobe space. Use it for socks, underwear, hair accessories, and small toys.
- Use the floor zone deliberately. Place two or three labelled bins on the wardrobe floor for shoes, sports kit, or pyjamas. Avoid letting the floor become a dumping ground by assigning every bin a specific category.
- Extend storage under the bed. Flat under-bed boxes work well for out-of-season clothing, keeping the wardrobe free for current-season items only. Label each box clearly with the child's name and the contents.
- Choose furniture with built-in storage. Beds with drawers underneath, ottomans, and storage benches all reduce pressure on the wardrobe. For families with very limited wardrobe space, a corner sliding wardrobe can reclaim awkward corners that standard furniture ignores.
| Space zone | Solution | Benefit |
|---|---|---|
| Upper rod (168 cm) | Long items, out-of-season clothes | Keeps current items accessible |
| Lower rod (84 cm) | Child's daily clothes | Child independence, faster mornings |
| Door back | Over-door organiser | Dresser-equivalent storage, no footprint |
| Wardrobe floor | Labelled bins | Shoes and kits contained, not scattered |
| Under bed | Flat storage boxes | Seasonal overflow without clutter |
How can parents maintain order and involve children in the process?
A well-designed system only stays tidy if the routine supports it. The good news is that children maintain systems far better when they helped create them.
- Start with a daily two-minute sweep. Children under seven cannot manage complex organisation independently, but they can do a short, specific task. A two-minute floor sweep before bed, where they return clothes to their bin or hook, builds the habit without feeling like a chore.
- Run a weekly reset session. Once a week, spend five minutes with your children going through the wardrobe. Return anything that has drifted, remove items that no longer fit, and check that labels are still visible.
- Set up a clothing station near the door. A designated spot where each child hangs tomorrow's outfit the night before eliminates the morning scramble entirely. A simple hook at child height works perfectly.
- Apply the three-second test. A system passes the three-second test if a child can identify where an item lives and put it away independently within three seconds. If they hesitate, the system needs simplifying.
- Praise the process, not just the result. When children put something away correctly, acknowledge it. Positive reinforcement builds consistency far faster than correction.
Pro Tip: Let children decorate their section of the wardrobe with a small sticker or drawing. Personal touches increase their sense of responsibility for keeping it tidy. For broader bedroom tidiness ideas, organising bedding sets using the same colour-per-child logic extends the system beyond the wardrobe.
Usability always beats aesthetics in children's storage. A beautiful system that children cannot operate independently will fail within days. A plain, clear system they understand will last months.
What common challenges arise with shared wardrobes and how do you fix them?
Even well-planned shared wardrobes run into predictable problems. Knowing the solutions in advance saves frustration.
- Clothing mix-ups. The fix is consistent colour coding from day one. If two children share similar clothing sizes, add an initial label or coloured dot to garment tags using a fabric marker.
- Space imbalance. Children grow at different rates and accumulate different volumes of clothing. Review the zone split every six months and adjust shelf dividers and rod sections accordingly. Adjustable rods make this straightforward.
- Seasonal overflow. Wardrobes fill up when summer and winter clothes coexist. Rotate seasonally: pack away out-of-season items in labelled under-bed boxes and bring them out as needed. This alone can free up 30–40% of wardrobe space.
- Resistance from children. Some children resist any system they did not choose. Solve this by involving them from the start. Let them pick their colour, choose their bin style, and place their own labels. Child involvement increases the likelihood they will maintain the system.
- No wardrobe at all. In rooms without a built-in closet, a freestanding rail with a fabric cover, combined with a chest of drawers and over-door hooks on the bedroom door, replicates most wardrobe functions. For a permanent solution, flexible wardrobe design that grows with the child is worth considering early.
Key takeaways
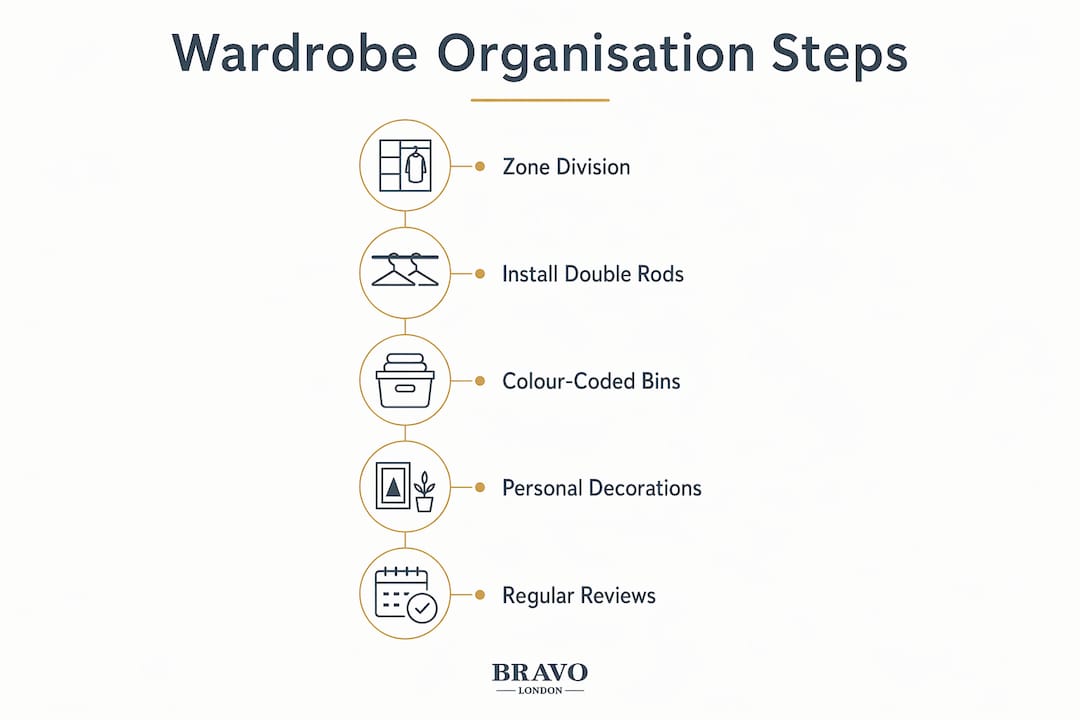
The most effective way to organise shared kids bedroom wardrobes is to combine clear personal zones, double-rod systems, and colour coding into one consistent, child-friendly routine.
| Point | Details |
|---|---|
| Zone division first | Split the wardrobe left-right or top-bottom before buying any accessories. |
| Double rods double capacity | A lower rod at 84 cm lets children reach clothes independently and halves morning chaos. |
| Colour coding prevents conflict | Assign one colour per child across bins, hangers, and labels for instant visual clarity. |
| Usability over appearance | Systems children can operate in three seconds are the ones they actually maintain. |
| Review every six months | Adjust zones and rod heights as children grow to keep the system working. |
What I have learned from fitting wardrobes in family homes
The parents who come to us at Bravo London with the most chaotic shared wardrobes almost always made the same mistake: they designed the space for how they wanted it to look rather than how their children would actually use it. Beautiful matching hangers and colour-coordinated folded stacks look wonderful in photographs. They last about four days in a real family home.
What consistently works is the opposite approach. Fewer categories, bigger bins, lower rods, and one colour per child. The simpler the system, the longer it survives. I have seen a wardrobe with three labelled bins and a double rod outperform an elaborate drawer-and-divider setup every single time, because the children could actually use it without adult help.
The other thing parents underestimate is how much children want to be involved. When a child chooses their colour, places their own label, and decides where their shoes go, they feel ownership over that space. That ownership is what keeps the wardrobe tidy, not the system itself.
My honest advice: spend less time planning the perfect layout and more time sitting on the floor with your children, asking them where they think things should go. You will be surprised how sensible their answers are. And if the wardrobe itself is the problem, because it is too small, too shallow, or the wrong shape for the room, no amount of reorganising will fix a structural issue. That is when a bespoke solution becomes the practical choice, not a luxury one.
— Bravo
Bespoke wardrobe solutions for shared children's rooms
When reorganising alone is not enough, the wardrobe itself may be the limiting factor.
Bravo London designs and builds bespoke fitted wardrobes tailored precisely to your children's room dimensions, with internal configurations built around how your family actually lives. Double rods, adjustable shelving, pull-out bins, and soft-close drawers can all be incorporated from the outset, rather than retrofitted with workarounds. Every project comes with a 10-year warranty and is completed to order, so nothing is generic. If you are ready to move beyond temporary fixes, Bravo London's built-in wardrobe guide is a practical starting point for understanding what a custom design can achieve in a shared children's bedroom.
FAQ
What is the best way to split a wardrobe between two children?
A left-right split is the simplest method: one child owns the left half, the other owns the right. Reinforce the division with shelf dividers and colour-coded bins so each section is visually distinct.
How do double rods help in a shared kids wardrobe?
Installing a second rod at approximately 84 cm (33 inches) doubles hanging capacity and puts clothes within a child's reach. The upper rod handles longer items and adult-managed storage.
At what age can children maintain their own wardrobe section?
Children as young as three can follow a colour-coded bin system with picture labels. By age five or six, most children can put clothes away independently if the system passes the three-second test.
How often should you reorganise a shared kids wardrobe?
A full review every six months keeps the system aligned with children's growth and seasonal changes. A quick weekly reset of five minutes prevents small drifts from becoming large messes.
What do you do if the wardrobe is too small for two children?
Maximise vertical space with double rods and over-door organisers first. If the wardrobe itself is structurally limiting, a bespoke fitted solution built to the room's exact dimensions is the most effective long-term fix.